All About The Crunch

The Mayflower Inn is a destination of sorts in Washington, Connecticut—in the hills of Litchfield County. It has lately undergone a renovation and re-styling, and its restaurants have been revamped by chef April Bloomfield. Before all that, though, the Mayflower was a quietly upscale, slightly stuffy New England Inn where we would go for the occasional brunch on Mother’s Day or for a birthday dinner. In spring and summer, its best feature was the formal garden you could wander, getting lost in the boxwood mazes and stumbling upon Shakespearean quotes among the flowers. In colder months, a visit was guaranteed maximum coziness thanks to intimate little libraries and sitting rooms where you could take a glass of wine, commandeer your own personal fireplace, play a game of chess with your kid.

When Ben and I were married, many moons ago, a lovely bridesmaids’ luncheon was thrown for me at the Mayflower by my godmother and her daughter, and we most certainly had the Bibb Salad to start, because there was a time when that was the iconic salad at the Mayflower. A bit of a 90’s throwback, the dish was notable for its perfect balance of flavors and crunch: soft lettuce leaves, blue cheese, diced tomatoes, and crispy shallots. That’s it. (A journey into the internet’s memory tells me it was also dressed with truffle oil vinaigrette, but nooooo that can’t be, I’ve already overwritten that part.)

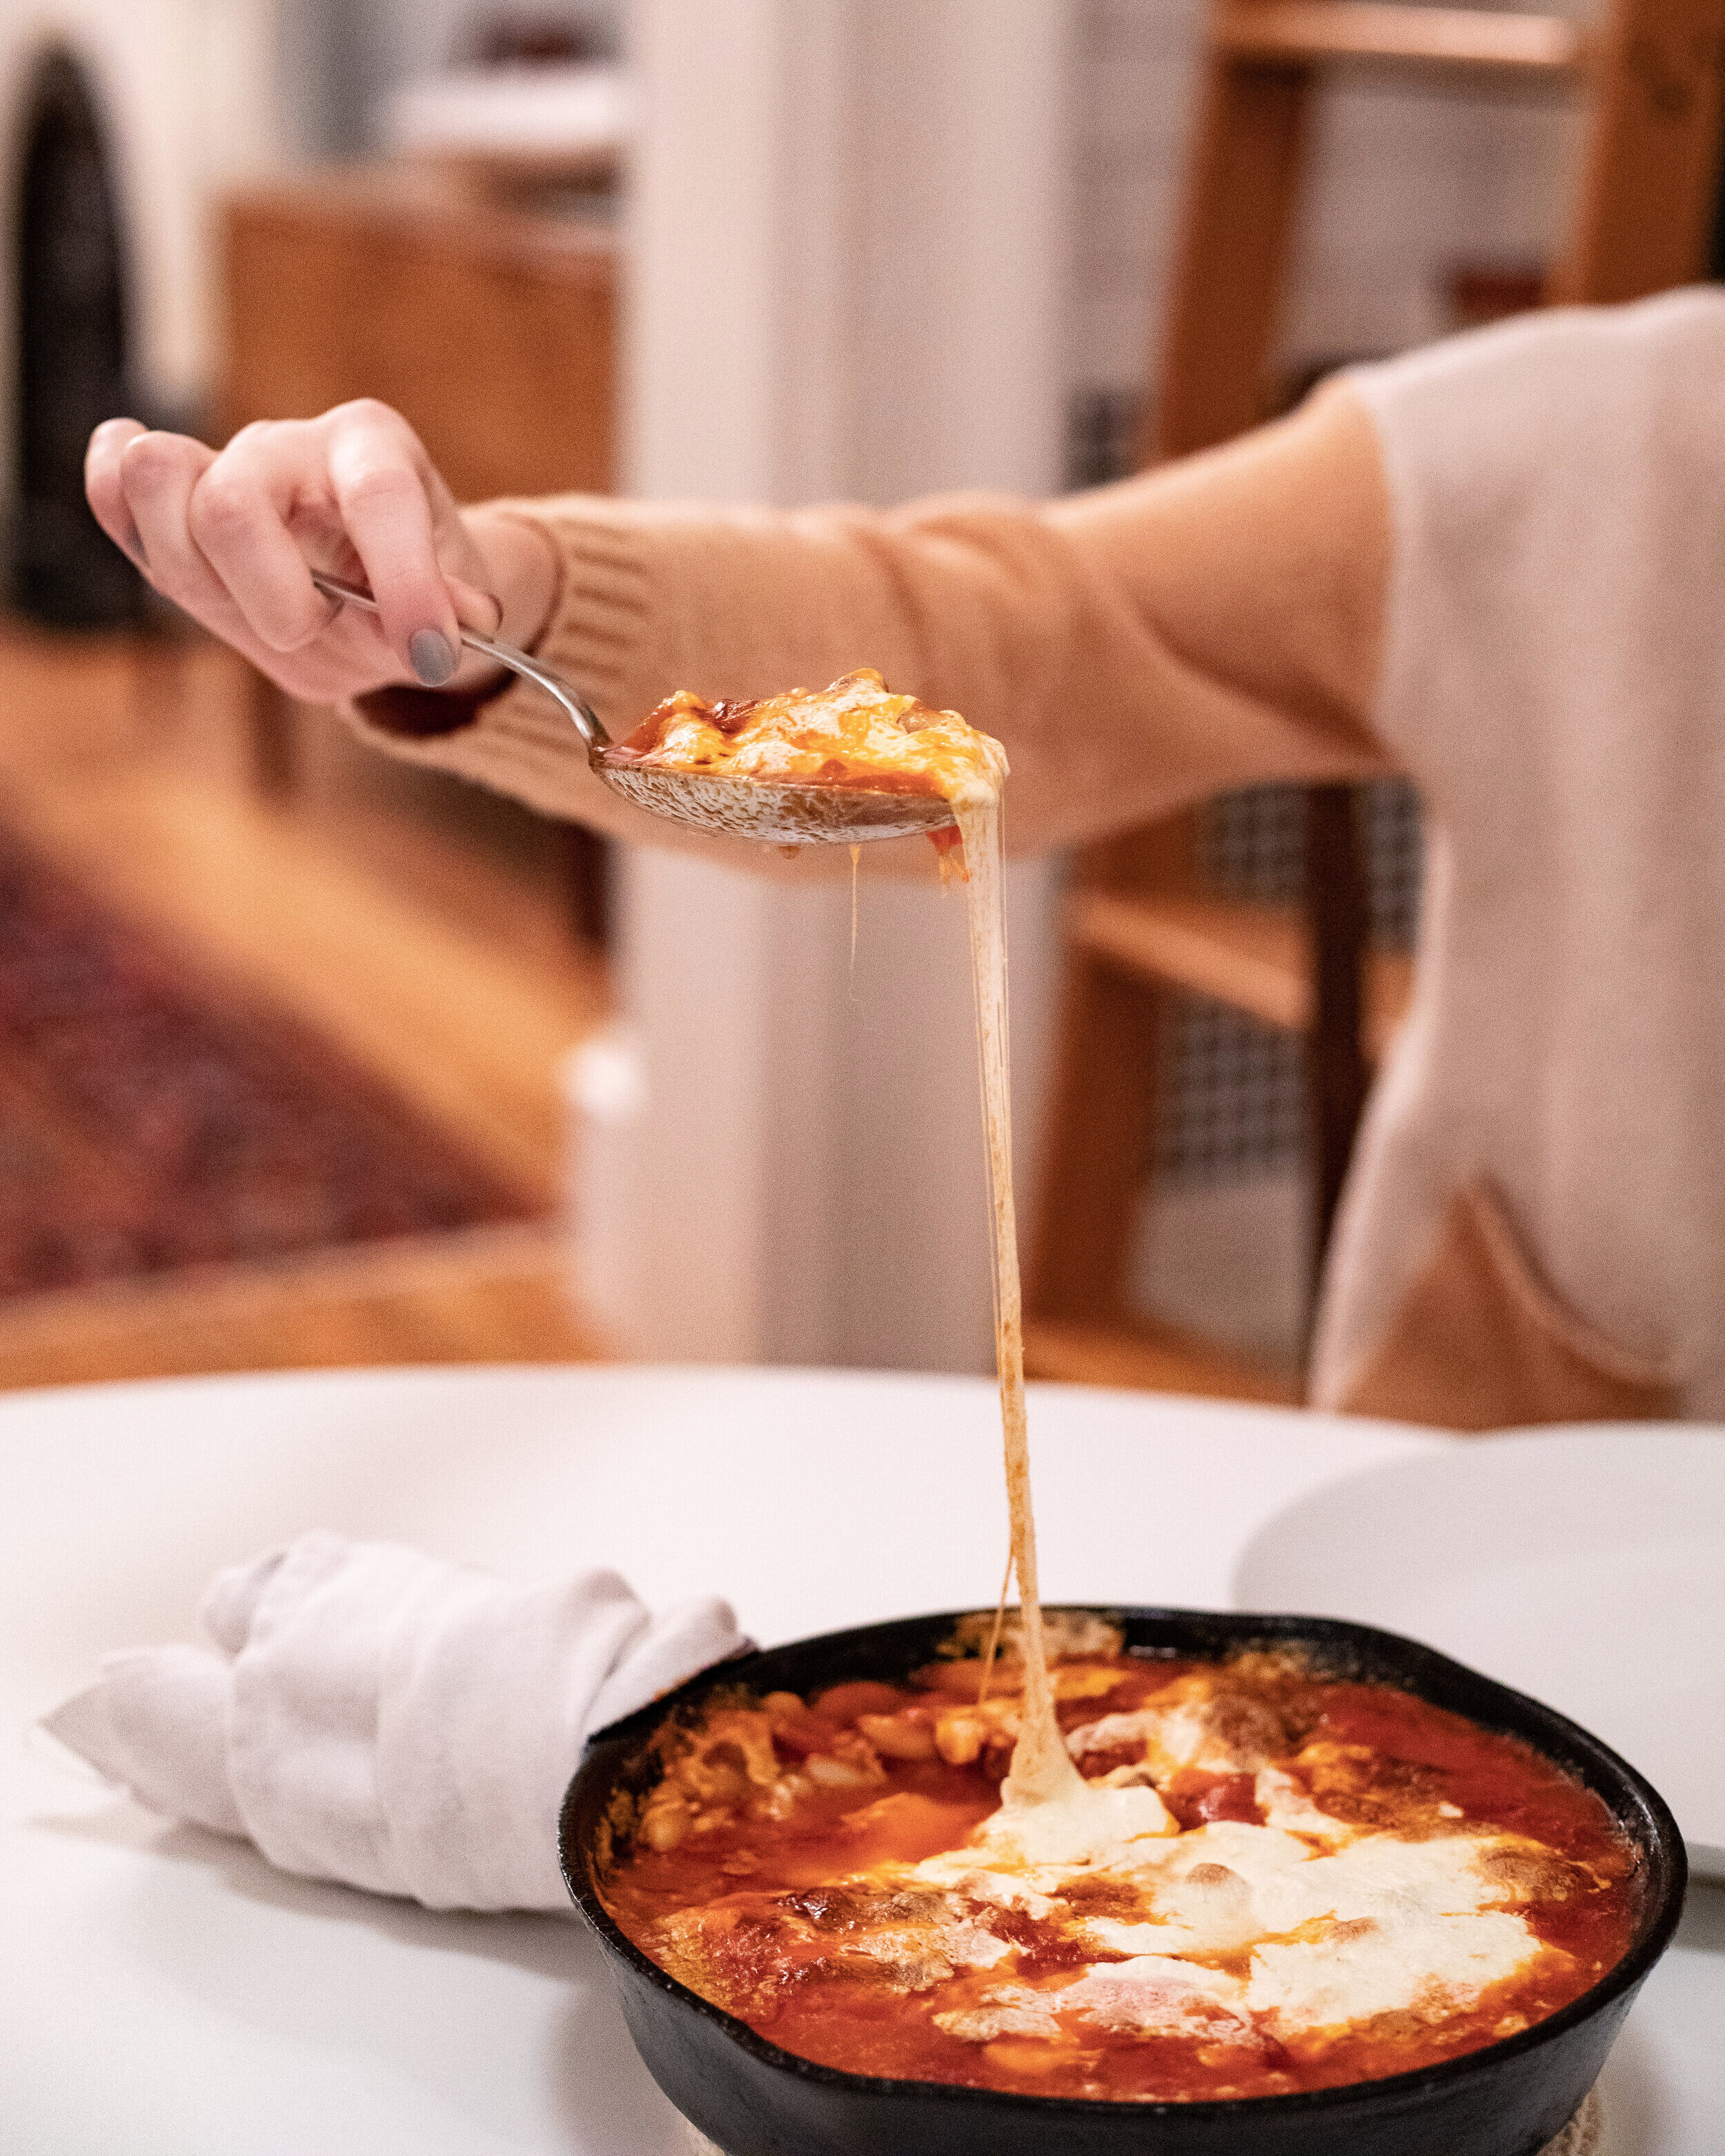
That salad was always, first and foremost, about the crispy shallots, and after receiving a huge order of shallots from OurHarvest recently*, I’ve become re-obsessed with their sweet, sublime crunch. If crunch were a food group, crispy shallots would give bacon bits some stiff competition. They are outstanding on any salad and even more so on Vietnamese noodle dishes, as a mix-in for a sour cream-based dip, a topping for your most decadent mac-n-cheese. A plus is that they are vegan so make a fine substitute for crumbled bacon on many plant-based things.

In the process of re-working this beloved salad recipe I tested out different techniques for making the crispy shallots. I tried the deep-fry method, where you heat the oil to a high temperature first and then let the shallots frizzle in it. It’s fast but also stressful, due to the vigilance needed to keep the shallots from burning. Another method—found on Bon Appétit and other sites—is to cover the shallots with a quantity of oil, adding both to the pan at the same time and cooking in a longer, more controlled manner. I was worried at first this would yield oil-sodden shallots, but my fears were allayed by a batch of perfectly browned and sweet little frizzles, which magically crisp up as they drain on paper towels. This is now my method of choice. Something I highly recommend if you are making this is using a mandoline to slice the shallots. They allow for even thickness, which translates to even cooking (i.e., you won’t have bitter burnt pieces mixed in with undercooked ones). If you’re not using a mandoline, just slice as evenly as you can. Instructions, plus the salad recipe, are below.

The Mayflower Salad lives on

The Mayflower Salad lives on

Crispy Shallots

Adapted from Bon Appétit

  • 1 cup or a bit more of vegetable oil (grapeseed, canola, refined sunflower all work)

  • 3-4 large shallots, peeled, sliced crosswise to the approximate thickness of a dime

  • Salt

Set up a tray covered with a couple of layers of paper towels. In a high-sided skillet or saute pan, put shallots covered in oil and turn heat on to medium high. Stir the shallots around with a fork to separate the rings. The shallots will cook slowly and begin to take on a golden color; once they do, watch them carefully and remove once they are golden brown—around 20-25 minutes. Pour the shallots and oil through a strainer with a bowl underneath to catch the oil. Allow to drain for a minute or two, and then spread shallots onto the paper towels and sprinkle with salt. They will crisp up after a few minutes. Store in a sealed container for a couple of days.

Reserve strained oil—which is now toasted shallot oil—for dressings and stir-fries.

Mayflower Salad

Serves 2

Ingredients:

  • 1 bunch Boston Lettuce, Bibb Lettuce or Butter Lettuce, washed and patted dry (keep leaves whole)

  • 1 medium tomato, diced, excess seeds and goo removed

  • Blue Cheese, crumbled (Bleu d’Auvergne or Arethusa Farms Blue both work great)

  • Crispy Shallots

  • Tarragon vinaigrette (below) or other basic vinaigrette

  • Salt and Pepper to Taste

Instructions:

Assemble Salad as you like! Toss greens and tomatoes with a couple of tablespoons of vinaigrette then scatter blue cheese and shallots on top. Sprinkle with salt and pepper.

Tarragon Vinaigrette

Ingredients:

  • 1/2 tsp. honey or agave, or a pinch of sugar

  • 1 tsp. Dijon mustard

  • 2 TBS tarragon vinegar or just white wine vinegar (I make my own tarragon vinegar by inserting a clean bunch of fresh tarragon into a bottle of white wine vinegar and letting it infuse indefinitely).

  • 1/4 cup oil: grapeseed oil, olive oil, a mix, or your choice of neutral oil

  • Salt and pepper

Instructions:

Whisk together honey, mustard, and vinegar to blend. Slowly whisk in oil until it’s evenly blended. Season with a pinch of salt and a couple cranks of pepper to taste.

🧅🧅🧅

*OurHarvest, the source for the shallots I used, is an online farmer’s market and grocery that delivers to NYC, Long Island, and Southern Connecticut. You can use the code SHALLOT to get 25% off your first order plus free delivery…or just follow this link.

🧅🧅🧅


Why Cast Iron

Some of my earliest and happiest memories take place on the Piankatank River in Virginia. It’s a lesser-known estuary of the Chesapeake Bay and my grandparents had a home there, perched on a bluff, salt grayed and modern for the time when it was built. My Mom’s father, Poppy, traveled the world for the tobacco giant he worked for (back when cigs were health food), but he loved nothing more than getting up before dawn and going fishing with the local watermen. I remember it, because I slept in my grandparents’ room on a cot sometimes when the house was packed, and the shock of an alarm clock ringing out in the dark was real.

Scattered through these memories like punctuation are cast iron skillets, because that was where the bacon crisped in the morning and the fish fried at the end of the day. Sometimes they were fish Poppy brought home in a cooler, sometimes dinner was a small spot or perch I reeled out of the water myself, proudly, after sweaty hours swinging my legs off the side of the dock with no see’ums stealth bombing my sunburnt shoulders. After I lovingly swaddled my catch in a dish towel (my Nana tolerated this ritual and always managed to coax the fish away from me) Poppy would clean it on the long dock, tossing the guts into the water and then hosing away the scales. Before dinner he would go out to the garage, where an entire wall by the tool bench was hung with iron skillets of various sizes; there, he would select the appropriate one and then stride into the kitchen twirling that skillet in his hand like a boss.

I still relish the sound and smell of butter foaming and popping in an iron skillet, because butter foams and pops in an iron skillet in a very distinctive way, if you listen—more vigorously, more decisively. And when freshly caught fish, dredged lightly in cornmeal, is laid into foaming butter in an iron skillet it crisps in a way it can’t crisp in any other kind of pan. That’s not a scientifically proven statement but I stand by it.

During college, I pilfered a 9-inch cast iron skillet from my parents’ garage while I was home on a break. It seemed abandoned, so I claimed it. It already had a perfect, smooth black season to it and quickly became my favorite pan, following me to New York City and remaining my preferred vessel for making frittatas, skillet cornbread, and our current weeknight hack, an absurdly lazy version of Deb Perelman’s pizza beans.

That little skillet was joined by a larger, hefty 12-inch beast, which I bought in my 20’s while working as a professional cook. I seasoned it myself—a process that took a little patience but not as much as you might think—and it went from gunmetal gray to deep black and only improved with time. Sometimes I would even lug it along with me on jobs if I wasn’t sure about the client’s cookware situation; it felt like a security blanket. In the present day, it is my preferred place to sear steaks and make a big batch of bacon, or crisp brussels sprouts. All the meals we’ve cooked in those skillets have somehow left their imprints which will enhance now and future meals.

Saveur, in their most recent Top 100 issue, listed “The Great American Cast Iron Revival” as #24—but cast iron never actually went away. It was just joined, over the decades, by countless other products and their marketing clamor. I cook with many types of pans and love them all for different reasons. Copper I admire for its quick heating and conductivity—and if I’m honest, its prettiness. Stainless steel is plain but dependable, and I cherish my All-Clad collection, amassed mostly as wedding gifts. I have a small stable of Le Creuset pots, their colorful enamels somewhat dulled with the patina of cooking. Nothing is better for a languid braise. Nonstick pans? I mostly avoid them except for making omelets. But my cast iron skillets are the real workhorses, the Budweiser Clydesdales of the bunch: kind of clunky but handsome, solid, and all-American.

There are several reasons, nostalgia aside, why cast iron so good. Number one is browning and crisping power: steaks and fish and chicken skins get a really terrific sear in a cast iron skillet, and I would swear that they also pick up some undefinable boost in flavor. The thicker material of cast iron pans takes a little bit longer to heat up (unlike copper), but the heat inhabits the pan for longer, making them practical (and charming) for stove-to-table. Also: it sounds nerdy, but I find that the Lodge skillets I own (which may actually qualify as antiques by now) have a really ideal bottom-to-side ratio, which means they have enough depth for making fried chicken or cornbread but aren’t so high-sided that food begins to steam in their depths. The pan’s material can actually give your food an extra dose of iron, too, especially when the food cooked within it has some measure of acidity. And then there’s the surface. Once you get the pan seasoned and start using it regularly, its cooking surface is smooth and darn near non-stick. More on that below.

The options for cast iron cookware are varied these days, and most companies now offer pre-seasoned pots and pans. Lodge, the company that’s been at it since 1896, still makes the old-fashioned footed camp stove that allows you to cook directly over a fire—plus more streamlined configurations for the modern stovetop. Some other, newer, brands include F. Smithey Ironware Co., and Butter Pat, out of Maryland’s Eastern Shore. Try your luck at a local thrift store or antiques store, too—you may strike black gold.

What is seasoning? Simply: seasoning is the process of coating the metal with a protective seal made of hardened oils. Bare cast iron has a natural topography of microscopic gullies and hillocks, and you want to fill all of that in and create a smooth plain so food can release during cooking. For the initial seasoning (which you may never need to do thanks to pre-seasoned products on the market today), cookware must be coated with oil and baked in the oven for an hour or so; Lodge has a nifty guide to this. The best oils, according to food scientist Harold McGee, are soy oil and corn oil because they are conducive to “polymerizing”. I use grapeseed oil for maintenance, since it also fits the bill, and is also a neutral oil that withstands high heat. You should never use oil with a low smoke point, such as extra virgin olive oil. Oils high in saturated fat, such as animal fats and coconut oil, are also not so great for seasoning or maintenance (but are totally fine for cooking).

Maintaining your cast iron automatically becomes easier the more frequently you use your cookware. This is because it won’t sit there and become rusty from neglect, and also because you are adding to its seasoning layer by cooking. Do not be afraid to wash it, either. My basic rule of thumb is to use the gentlest degree of cleaning needed but exert a little more force as the cleanup requires. Sometimes you can get away with simply wiping out the pan. Most often, I use gentle dish liquid like Seventh Generation (which I use at all times anyway) and a soft, natural-bristled brush rather than metal scouring pads. If you get stuck-on food particles in the pan, rubbing in some kosher salt is also a safe way to remove the gunk, but you can also use a metal scrubber if the job calls for it. Beware of leaving your pan soaking in the sink—the resulting rust rings are not fun. After cooking and cleaning, I heat up my pan on the stove and then rub a thin layer of oil (usually grapeseed but the others mentioned above work) on the surface and allow it to cool before putting it away. You can get away with not doing this every time, but definitely do it if you’ve cooked something acidic or have put your pan through a vigorous scrubbing.

What should you cook with your cast iron? Anything! Some people say to avoid cooking acidic foods in there, but it’s ok once you have built up a good surface—just make sure you rub some oil onto the clean, warm pan after cooking, say, tomatoes or lemony chicken in it. Also, a tip if you’re using the skillet in the oven: invest in a silicone handle cover. I can’t tell you how many times I have grabbed a searing hot handle with my bare hands without thinking beforehand—ouch!

Here are some cast iron recipe ideas from around the internet:

Edna Lewis skillet cornbread (note: I use my 9-inch skillet with this. The recipe says 10-inch. Either is fine)

Shakshuka

Cast-Iron Skillet Pizza

Breakfast Hash

Extra-Billowy Dutch Baby

Skillet Berry Crisp

Cast-Iron Chocolate Chip Cookie

…And here is our beloved pizza bean recipe—it’s brutally simple, it’s vegetarian, and we usually plunk down the skillet onto the table along with lots of garlic bread, and then just dive in.

Cheese pull for the win

Cheese pull for the win

Lazy Pizza Beans

Ingredients:

  • 2 cans large white beans (such as cannellini or gigante beans), drained

  • 1 jar Rao’s marinara or tomato basil sauce (other brands work, Rao’s is just our favorite! Not sponsored!)

  • Pinch of salt

  • 8-oz fresh mozzarella or more as needed, thinly sliced (we use around half of one of those big balls of mozz found everywhere in NYC)

  • Optional: fresh basil for garnish

Instructions:

Preheat oven to 400°. Put beans into a 9-inch or 10-inch skillet. Pour in half a bottle of Rao’s sauce and add more as needed—you want the tops of the beans to still be visible. Stir in just a pinch of salt. Put in oven and bake for about 15 minutes, then cover the top with mozzarella and put on the top shelf of the oven and cook until it’s bubbling and the mozzarella has begun to brown. Scatter torn or sliced basil over the top, if using.

Garlic Bread:

People have their opinions, but here’s mine: Melt some butter and crush a bunch of garlic cloves (I use a microplane zester)—around 4 garlic cloves per 4 tablespoons butter. Stir and season with a pinch of salt. Now slice a baguette or long Italian loaf into 4-inch or so segments, then slice these in half lengthwise. Spread the cut sides liberally with garlic butter then toast in the oven while the pizza beans are cooking.

Poppy’s skillets - the O.G.s

Poppy’s skillets - the O.G.s


All Together Now

It’s Friday and the second day of Spring, but this is not how any of us pictured spring unfurling. I have to remind myself to look up and notice the trees are starting to bloom, and flowers are peeking out of the soil, because it’s so hard not to be frustrated that we’re separated from beloved family and friends. For now, though, we are staying healthy, occupied, and quasi sane in our new cloistered normal. There’s an odd sense that the world has suddenly gotten very small and we are going through the same things together, albeit in slightly different ways and at different stages. Thank goodness we live in the time of the internet so we can check up on news around the world, FaceTime with faraway family members, do distance learning and virtual yoga classes.

We can watch people in Italy singing their hearts out from balconies while under quarantine. And Parisians cheering in appreciation for the medical workers from their windows. In about an hour, my neighbors are “meeting” on their individual stoops and out of their windows for an Italy-inspired singalong and wine.

Art museums, though shuttered, are open for virtual tours. And Audible is offering free audio books for kids right now. This crisis has not brought out the best in everyone, but for the most part there’s a sense of cooperation and inventiveness that reminds us of our collective better selves and sustains us through the long, formless days.

In my neighborhood in Brooklyn, people are going out for careful walks with their kids, but since groups are verboten, playdates are off the table. Someone around here started a Rainbow Connection project, where kids can make rainbows to display in a window, then other kids out walking can play a game of I Spy and spot the rainbows. It seems to be spilling over to other cities, too. There is a map of the project here and you can add your own to the map here.

As a friendly reminder to wash hands, a neighbor around the corner installed a temporary sink outside his gate, open to all, with foot-operated pedals dispensing soap and water.

We are keeping ourselves sane by taking walks and bike rides in our local parks (for as long as we’re allowed to!), keeping chore schedules, and of course cooking. A lot. Luckily, everyone in my family likes to cook, and we’ve had a rotating lunch schedule in which we all sit down together. So far we’ve had a vegetarian sandwich by the eldest child, homemade pizza from the middle child, and “breakfast for lunch” from the boys. There’s been some talk of chicken and waffles, so the ante is upping.

Cooking is one thing I’m able to do when I don’t feel in control of much else, so I’ve been doing a lot of it. That’s not to say I’m doing the other things well. I make a terrible home school teacher—and as the kids are technically on spring break right now we haven’t even gotten to that phase yet. My thesis project exists in a parallel universe where attention span is an actual thing, and I’m not even sure how graduation is going to play out. But we’re all healthy, so that’s what really matters.

If you are facing a never ending string of meals at home—and you probably are—you can find some easy and tasty recipes at the New York Times. David Lebovitz, confined at home in Paris, has pulled together some here (call me crazy but I’m kind of excited to try the sardine rillettes). The Kitchn has some good stuff, too and Amanda Hesser of Food52 has been doing cooking tutorials on her Instagram (@amandahesser).

It was my turn to make lunch today, so I simmered up a big batch of black beans and put together a mess of sheet tray tortillas we could all help ourselves to—crisped corn tortillas loaded up with spiced beans, cheese, avocado, pickled onions, and fried eggs. They’re vegetarian but the recipe is open-ended, so you can mix it up with anything you have around. I’ve included recipes for a few of the core basics below, along with a list of other things I piled on. The black bean recipe is one we use for tacos, burritos, bowls, and a host of other things.

Spiced Black Beans

  • 2 TBS or so neutral oil

  • 2 cups cooked black beans (approx. 1 can), some liquid reserved

  • 1 small onion (or 1/4 large onion)

  • 1 tsp. salt or to taste

  • 2 tsp. cumin

  • 1 tsp. chili powder or sweet paprika (depending on level of spiciness desired)

  • 1/2 tsp. ground coriander seed

Instructions:

Heat oil in a skillet or small frying pan. Add onions, spices, and half of salt, and cook over medium heat, stirring, for 5-7 minutes until onions have sweated and spices smell toasty. Make sure not to burn. After that has sizzled for a bit, add beans and some of their liquid (or plain water). Simmer for around 20 minutes, adding a bit of water as needed, until beans are tender and flavorful, simmering away in their own sauce. Add more salt to taste.

Pickled Onions

  • 1 small red onion, sliced into thin rings or pieces

  • 1 cup apple cider vinegar

  • 1/2 cup water

  • 1 TBS kosher salt

  • 1 tsp. sugar

Instructions:

Put sliced onions in a bowl or jar. Bring other ingredients to a boil, then pour over the onions to cover. Let sit at least 30 minutes until bright pink and ready to use. Once cooled, put in the refrigerator. These keep for a long time and have many uses.

Assembly ingredients (suggested only—add your own):

  • Small corn or wheat tortillas

  • Neutral oil

  • Beans

  • Shredded cheese

  • Eggs

  • Avocados, sliced

  • Chopped chiles

  • Thinly sliced radishes

  • Pickled onions

  • Sliced scallions

  • Cilantro leaves

  • Limes for squeezing

  • Your favorite hot sauce or salsa

  • Other ideas: sauteed Mexican chorizo or sausage; corn; sauteed peppers and onions

Assembly:

Preheat oven to 400°. Brush or rub 8 tortillas with oil on both sides and arrange on tray slightly overlapping. Once the top side starts getting crisp, flip and rotate them so they crisp evenly. Take them out and scatter over beans and then as much shredded cheese as you like. Put them back into the oven to let cheese melt. While this is happening, fry the eggs in a skillet. Once cheese is melted and starting to bubble, take the tray out and arrange eggs and the other toppings any way you like. You can make a smaller version of this if you’re confined on your own, or multiply infinitely once it’s safe to come together in one big party. That day will come!

tortillas.jpg